

REST Easy: A Comprehensive Introduction to REST APIs 🤖
Exploring the Fundamentals of REST APIs

I'm a long-time cloud enthusiast with experience in AWS. I love to explore and learn about new things, which is why I'm so excited about my new blog, "TLDR". It's been a great way to get involved in exploring new technologies and learning more about IT.
Let us come together and learn something new! ✨
In this blog post, we will cover everything you need to know about REST APIs. We will begin by defining what a REST API is, its purpose, and its role in software development. Let's get started. 🍵
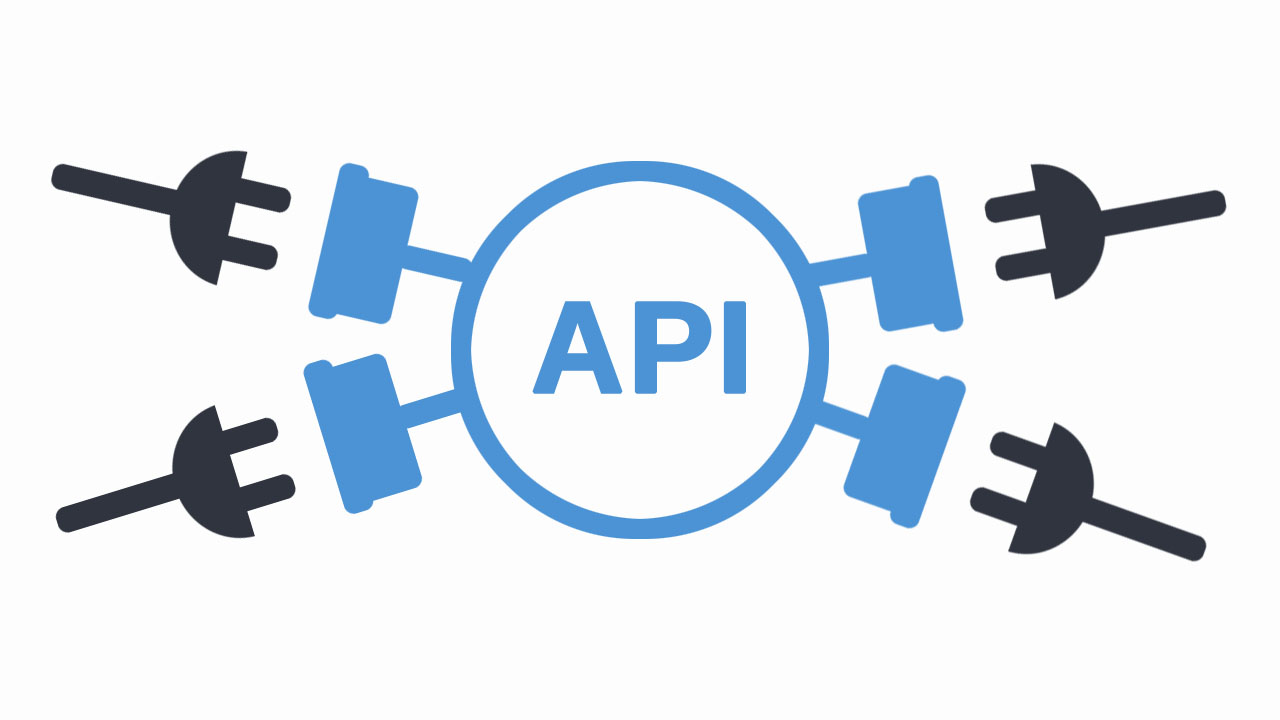
Introduction ✨
An API (Application Programming Interface) allows different software systems built in different programming languages to communicate with one another. It is a way to build an interface for these pieces of software to communicate with each other, allowing one application to make a request to another application and receive a response.
REST, or REpresentational State Transfer, is an architectural style for providing standards between computer systems on the web, making it easier for systems to communicate with each other.🚀
Communication 💫

One of the challenges with software communicating with each other is that every software system is a little different, so it helps if they’re communicating using some standard notation. This notation is usually JSON.
JSON is the language of communication in REST APIs (think of it as a language, in a way), and it is the standard for APIs. It describes information using a series of key-value pairs, just like an object in JavaScript, and is the format of the response given by the server.
An API app example 👀

This communication between software is typically in one direction. This means one software system will do all of the talking, and the other software system will request data. You could say server (backend) and client (frontend).
Let’s say we are building an app to store information about Pokemon, and we want to get information about a particular pokemon. I’ll likely have a server, let’s say written in Python, that manages this data by connecting to a database. The client can then request this data from the server, the server gets the information from the database, and then returns the data to the client.
This software doesn’t just open up everything for other software to use. Instead, the developers carefully choose specific things that should be exposed for other software to consume. These things are exposed as API endpoints.
So for the backend, we might create an API endpoint and it will look like this: /pokemons/<id> where the id could be any ID to grab information about a particular pokemon using the GET method.
Now you might be asking, What’s with the slashes? That’s where the REST part of this comes in. REST (representational state transfer) is a particular type of API that allows the transfer of data (also known as the state, as the acronym would imply) over the internet. So these slashes are a URL.
The full endpoint might be used like so: http://tldr.com/pokemons/5
Why the Complexity? 🪶
You may ask yourself, instead of having a front end talk to a back end which talks to the database, why don’t you just simplify and remove the middle man (the server)? Here are a few reasons:
| Reason | Why it's important? |
| Security | The most popular front-end language is JavaScript, which in front-end web development has no concept of security. On a side note, we can include authentication and authorization with our API so that only certain people using the front-end applications can access sensitive data. |
| Versatility | With a single backend, we can build numerous front ends that have the single purpose of presenting and interacting with data. This means we could have a website, a mobile application, and a desktop application and they’re all going to work properly with the same data because the data processing is all done on the back end. (SSR or Server Side Rendering) |
| Modularity | We can swap out the backend without having anyone notice or have to update an application. As long as the backend exposes the same API. This is a perfect example of abstraction. We are abstracting away the data processing and always working with a consistent interface (a REST API that uses JSON). |
| Interoperability | If desired, your API can be public for any developers to consume. This means that the front end and back end do not have to be done by the same developer. There are tons of public APIs out there that we can use to create cool apps. You could make an Instagram browser, a cryptocurrency trading bot, or a machine learning model based on YouTube analytics. |
For the authorization technique, we can use OAuth2.
HTTP Methods 🌐

In REST APIs, different HTTP methods can be used to request data from the server. The most common methods are GET, POST, DELETE, and PUT.
GET is used to retrieve data from the server. It is written in all uppercase letters and is used to get information from the server without changing anything.
POST, on the other hand, is used to write new data to the server. Whenever you want to add new information to the server, you use POST.
DELETE is another HTTP method, and as the name suggests, it is used to delete data from the server.
PUT is used to update existing data. While the difference between POST and PUT can be confusing, it is generally suggested that POST should be used to write new data, while PUT should be used to update data.
These different methods are used to perform CRUD operations on the database. CRUD stands for Create, Read, Update, and Delete, which are the most common operations performed on a database.
POST vs PUT 🥷🏻

The difference between POST and PUT can be a source of confusion when working with REST APIs. Generally, POST is used to add a new resource, while PUT is used to replace an existing resource. However, replacing a resource requires some way to identify it, often using an ID. With POST, the ID is auto-incremented in the database, so it is not known until the data is inserted. With PUT, the ID is needed to identify the resource being replaced.
Another difference between POST and PUT is that PUT is designed to give the same result every time the same request is made. This is called idempotency. If the same resource is replaced multiple times with the same ID, the same resource will exist each time. POST, on the other hand, is not guaranteed to be idempotent, so adding the same resource multiple times could result in duplicate records or errors.
PUT: /pokemons/6
Charizard >> Mew >> Pikachu >> Pikachu
The same record is updated.POST: /pokemons/6
Charizard
Pikachu
Pikachu
New or maybe duplicate records are created.
In general, the distinction between POST and PUT can be blurry, and the same behaviours can often be achieved with either method. Some developers prefer to stick with POST, even for updating resources, to avoid confusion.
There is also another HTTP method called PATCH, which is used to replace specific pieces of a resource. However, if the data being worked with is small, it may be easier to simply replace the entire resource with PUT or POST.
In conclusion, understanding the difference between POST and PUT is important when working with REST APIs, but it is also important to remember that the same behaviours can often be achieved with either method. It is up to the developer to decide which method to use based on their specific needs and preferences.
Consuming an API 📲
The Stackoverflow API is a valuable resource for developers, providing a wealth of information on programming topics. Making requests to the API is easy, and can be done simply by following an example and copying the URL. Query string parameters such as order, sort, and site can be used to customize the response from the server, allowing developers to retrieve the specific information they need.
Here’s an example:
https://api.stackexchange.com//2.2/answers?order=desc&sort=activity&site=stackoverflow
While GET requests are easy to make, there are also POST options available in the Stackoverflow API, although these require authentication. For more complex API consumption, Postman is a useful tool that enables developers to make customizable requests with headers and body.
When it comes to sending data to an API, Postman is particularly helpful, allowing developers to build out objects in the body of the request with JSON.
Example with Python
pip3 install requests
Thankfully, JSON is directly convertible to a Python dictionary (group of key-value pairs).
import requests
import json

response = requests.get("https://api.stackexchange.com/2.2/questions?order=desc&sort=activity&site=stackoverflow")

for data in response.json()['items']:
    print(data['title'])
    print(data['link'])
    print()
This would be a good time to research what standard JSON looks like.
Creating a basic API 🧑🏻💻

Creating a Virtual Environment
  python3 -m venv v_env
  # To activate it, run:
  source v_env/bin/activate
  # To install dependencies, run:
  pip3 install flask and pip3 install flask_sqlalchemy
  # You can check whether all of your dependencies have been installed by looking at the output in requirements.txt
  pip3 freeze > requirements.txt
  # This is where we'll put all of our code.
  touch application.py
Creating the Application File
We can write code now in 'application.py', but keep your virtual environment running.
  from flask import Flask

  app = Flask(__name__)

  @app.route('/')
  def index():
      return "Hello!"
Setting Up Environment Variables (still in the virtual environment)
This will allow you to run your app and test the API locally before deploying it into production.
  export FLASK_APP=application.py
  export FLASK_ENV=development
Running the Application
To run the application, type:
flask run
You should see something like this: Running on http://localhost:5000/ (Press CTRL+C to quit)
Making a GET Request
To make a GET request, you'll need to create an endpoint with 'app.route()'. This function takes two arguments: the URL path and a callback function that will handle any data returned by the API. In our case, we want to return a dictionary with two keys: 'pokemons' and 'pokemon_data'.
The code below shows how this might look in practice:
  app = Flask(name)
  @app.route('/pokemons')
  def get_pokemons():
  return {'pokemons': 'pikachu', 'pokemon_data':'an elctric type.'}
Testing the Request
Now that we have the request, let's test it. The first step is to visit
localhost:5000/pokemonsin your browser and check for a response in JSON. If you don't see anything, make sure you've saved your file and restarted Flask withCTRL+Cfollowed byflask run.Using Postman
Postman is a great tool for making more complex API requests. You can build out the body of your request with JSON, and make custom headers as well. If you want to get even more advanced, you could use Postman to create a POST request that includes an object in its payload.
CRUD Operations 🚀

This is the fun part!
# First, create a Flask app instance and configure SQLAlchemy to connect to a database. You can use SQLite for simplicity
from flask import Flask
from flask_sqlalchemy import SQLAlchemy

app = Flask(__name__)
app.config['SQLALCHEMY_DATABASE_URI'] = 'sqlite:///data.db'
db = SQLAlchemy(app)

# Define a model for your database table
class Pokemon(db.Model):
    id = db.Column(db.Integer, primary_key=True)
    name = db.Column(db.String(80), unique=True, nullable=False)
    description = db.Column(db.String(120), nullable=False)

    def __repr__(self):
        return f"{self.name} - {self.description}"

# Define routes for CRUD operations. For example, to get all pokemons
@app.route('/pokemons', methods=['GET'])
def get_pokemons():
    pokemons = Pokemon.query.all()
    output = []
    for pokemon in pokemons:
        pokemon_data = {'id': pokemon.id, 'name': pokemon.name, 'description': pokemon.description}
        output.append(pokemon_data)
    return jsonify({'pokemons': output})

# To get a specific pokemon
@app.route('/pokemons/<id>', methods=['GET'])
def get_pokemon(id):
    pokemon = Pokemon.query.get_or_404(id)
    pokemon_data = {'id': pokemon.id, 'name': pokemon.name, 'description': pokemon.description}
    return jsonify({'pokemon': pokemon_data})

# To add a new pokemon
@app.route('/pokemons', methods=['POST'])
def add_pokemon():
    name = request.json['name']
    description = request.json['description']
    pokemon = Pokemon(name=name, description=description)
    db.session.add(pokemon)
    db.session.commit()
    return jsonify({'id': pokemon.id})

# To update a pokemon
@app.route('/pokemons/<id>', methods=['PUT'])
def update_pokemon(id):
    pokemon = Pokemon.query.get_or_404(id)
    name = request.json['name']
    description = request.json['description']
    pokemon.name = name
    pokemon.description = description
    db.session.commit()
    return jsonify({'message': 'Pokemon updated successfully'})

# To delete a pokemon
@app.route('/pokemons/<id>', methods=['DELETE'])
def delete_pokemon(id):
    pokemon = Pokemon.query.get_or_(id)
    db.session.delete(pokemon)
    db.session.commit()
    return jsonify({'message': 'Pokemon deleted successfully'})
That's it! With these routes, you can perform CRUD operations on your database using HTTP requests. Note that you should add error handling and authentication for a production-ready API.
To create the initial database, just import the db object from an interactive Python shell and run the SQLAlchemy.create_all() method to create the tables and database:
>>> from yourapplication import db
>>> db.create_all()
Boom, and there is your database. Now to create some users:
>>> from yourapplication import User
>>> entry1 = Pokemon(name='pikachu', description='an Electric-type Pokémon')
>>> entry2 = Pokemon(name='mew', description='Possesses the genes of all Pokémon.')
But they are not yet in the database, so let’s make sure they are:
>>> db.session.add(entry1)
>>> db.session.add(entry2)
>>> db.session.commit()
Accessing the data in the database is easy as a pie:
>>> Pokemon.query.all()
[<Name u'pikachu'>, <Name u'mew'>]
>>> User.query.filter_by(name='amew').first()
<User u'mew'>
Useful link: ✅
Quickstart to flask-sqlalchemy
Conclusion💡

And that's a wrap, folks! We hope you found this introduction to RESTful web services both informative and entertaining. With this powerful tool in your toolbox, you'll be able to build web applications that are fast, efficient, and easy to maintain. So go forth and REST easy, knowing that your code is top-notch! 🔆


